
Even on the best car, using body filler is often inevitable, such as when using repair panels.
Here's a quick explanation on how it should be done, using my MGB GT as an example.
This is the panel after welding. It has been fitted under the original wing top, and holes have been cut through allowing welding to be done at double thickness. This leaves an overlap, and this is what we are going to address.
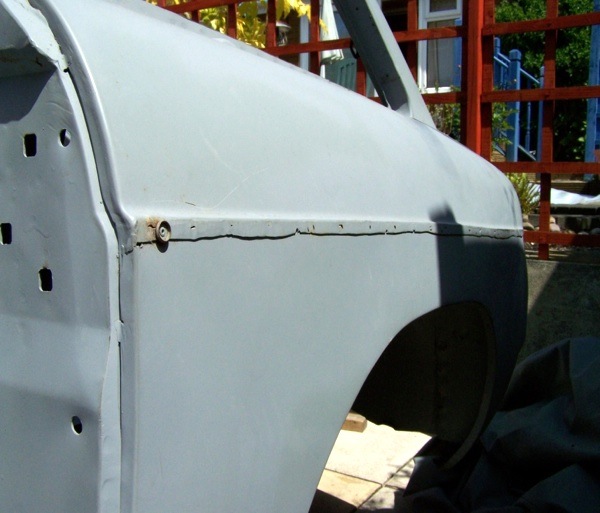
Body repair panel as fitted after welding, showing rough metal overlap
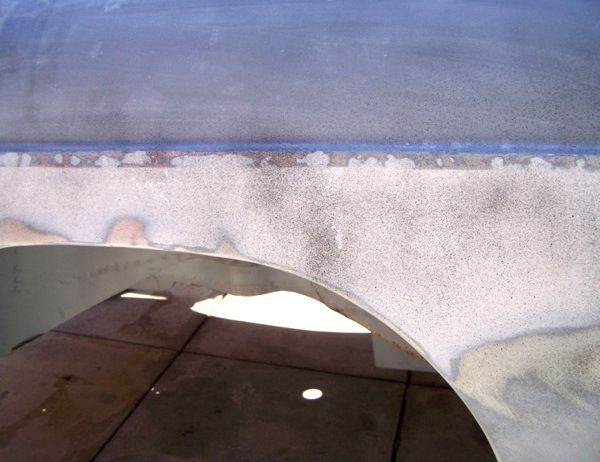
The first layer of filler goes on, remembering that 1/8" of a lip is going to take about 3" to blend in. All primer must be removed first for good adhesion.
First layer of body filler, 3 inch blend, primer removed
Block Sanding the Body Filler
To get a really good result, you will want to use a method called "block sanding". It's a bodywork trick the professionals use that ensures good results. It's not just used on filler, but all panels new or old to take out those little dents you wont see until the sun shines on your brand new paintwork.
As you saw in the last picture where the filler had been applied, in this shot the filler has had its first rub down with a block and paper. Professionals will use long blocks, short blocks and blocks that have some give in them to allow the block to follow the contours of roofs, bonnets etc. The theory is to sand until you touch metal, because you will sand the filler away before you could ever sand the metal away, so if you rub down until you hit metal on all sides of your filler then your filler must be level or below the level desired.
Block sanded body filler, down to metal on all sides, then dusted with black spray paint
To show this we go to the next step, where the magic happens. As you can see, a black mist been spayed on top of the filler. This can be any old spray can you have lying around, but black stands out better. After a light coat, then block sand it again.
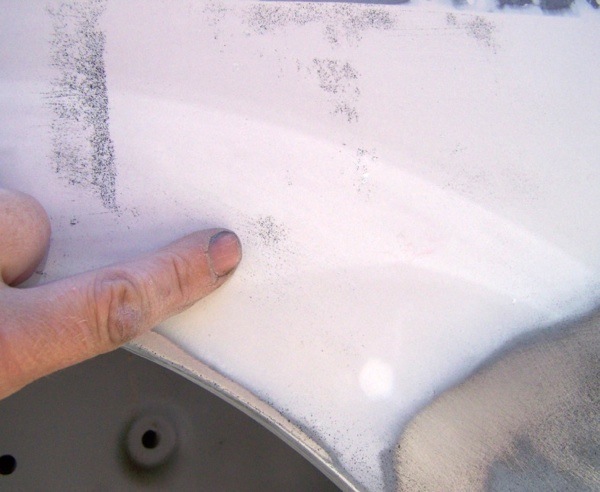
Black spray paint on body filler sanded away, exposing low points
This time you can see the lows in the filler, even very small ones not seen by the eye. Simple, all you need to do now is repeat the filling process and mist again until you get it perfect.
And here is the finished panel prepared, primed and ready for paint.

Finished block sanding of repaired body panel, primed and ready for paint

")


Steve
Want to leave a comment or ask the owner a question?
Sign in or register a new account — it's free